MicroPython Libraries & Hardware You Will Learn
Students will learn MicroPython through a real robotic class that combines real hardware setup and real coding. Using Raspberry Pi Pico or ESP32, they will work directly with LEDs, sensors, buttons and LCD displays while developing practical skills in robotics, IoT and automation.To accelerate the learning process, students will learn each concept step by step with the support of AI, making lessons more interactive, engaging, and enjoyable.This approach also reflects modern industry practices, where AI is increasingly used as a practical tool to assist software development, coding, debugging, problem-solving, and project development.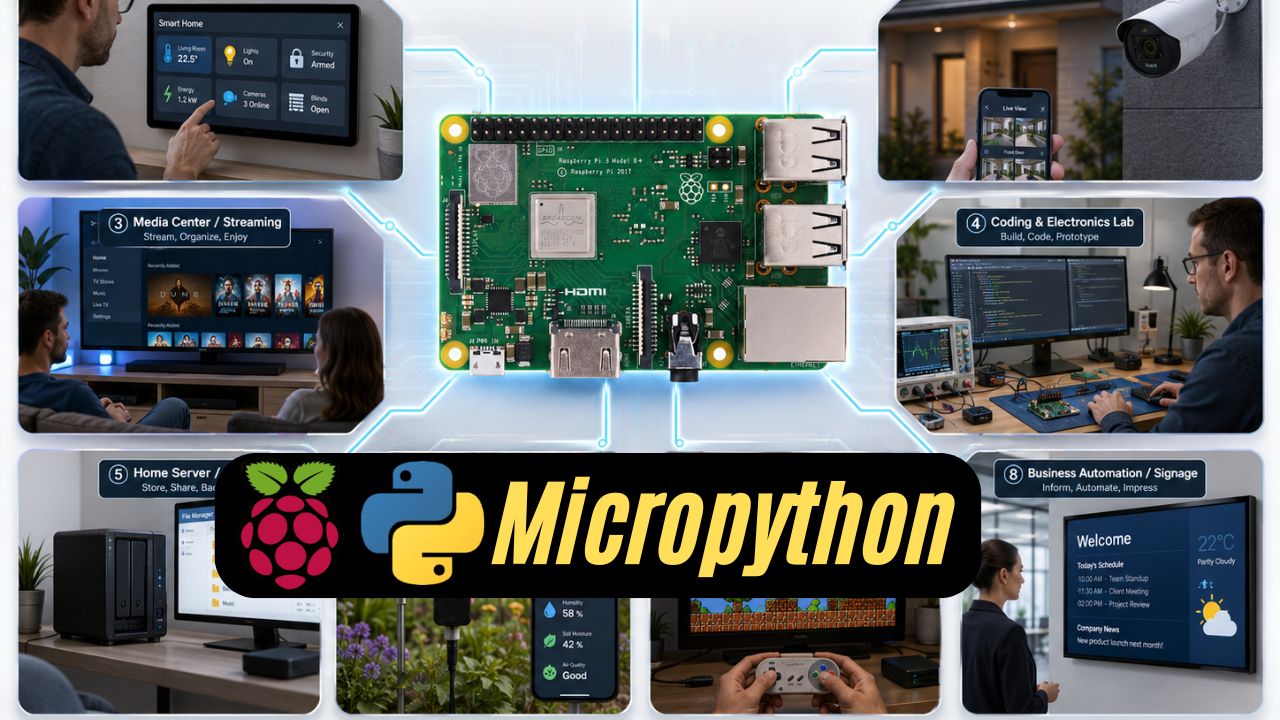 Our programme is also one of the only classes that promotes real hardware setup and real coding, allowing students to physically build circuits, connect components, troubleshoot wiring and write the MicroPython code needed to control the hardware. NOT TO WORRY, ZERO CODING SKILS IS REQUIRED to learn Micropython and Robotics
A beginner-friendly library that simplifies the control of LEDs, buttons, buzzers and other electronic components.
Learn how to control GPIO pins, PWM, ADC, I2C, SPI and other hardware functions directly from MicroPython.
Used to create delays, measure time intervals and control the timing of electronic projects.
Explore Raspberry Pi Pico-specific functions including advanced GPIO capabilities and Programmable I/O (PIO).
Used to read temperature and humidity information from sensors such as the DHT22.
Learn how microcontrollers communicate with compatible digital sensors through the 1-Wire communication protocol.
Control individually addressable RGB LEDs and create colourful lighting sequences, animations and effects.
Learn how to detect and measure environmental temperature and humidity using the DHT22 sensor.
Understand how temperature-sensitive resistors can be used with analog input to measure temperature changes.
Learn how to display text, sensor readings and program messages on a 16-column, 2-row LCD screen.
Zero Knowledge Needed
We will start from zero. You do not need to have any pre-requisite to learn Micropython and Robotic classes. We will start from zero
Python Fundamentals → Basic Electronics → Micropython
MicroPython Course Structure
Our MicroPython programme is structured progressively so that students develop a strong understanding of programming before moving into electronics and practical microcontroller projects. Students will begin with Python programming fundamentals, continue with electronic components and circuit connections, and finally apply their knowledge through practical MicroPython projects using the Raspberry Pi Pico W, Pico 2W or ESP32.| Programme | Duration | Learning Focus | Course Fee |
|---|---|---|---|
| Python Programming Fundamentals | 8 Classes | Variables, data types, conditions, loops, functions, lists and fundamental Python programming concepts. | RM 1,500 |
| Basic Electronics & Connections | 4 Classes | Breadboards, resistors, GPIO pins, wires, LEDs, sensors, buttons, LCD displays and basic circuit connections. | RM 800 |
| MicroPython Mini Projects | 16 Classes | Hands-on programming with Raspberry Pi Pico, Pico W, Pico 2W, LEDs, NeoPixels, LCD displays, sensors and other electronic components. | RM 3,000 |
MicroPython Mini Projects
Explore our practical MicroPython mini projects and download the accompanying PDF student guides. Each lesson progressively develops programming, electronics and Raspberry Pi Pico skills.
01. Raspberry Pi Pico Introduction
Learn the fundamentals of the Raspberry Pi Pico W, including GPIO pins, board connections and basic microcontroller programming.
 Download Lesson 1 PDF
02. Controlling an External LED
Learn how Python code can control a physical LED connected to the Raspberry Pi Pico W.
Download Lesson 2 PDF
03. Button-Controlled LED
Learn how to detect a push button and use it to turn an external LED ON and OFF.
Download Lesson 3 PDF
04. LED Pulse Effect
Use a push button to create a smooth LED fading and pulsing effect.
Download Lesson 4 PDF
05. Controlling LED Brightness
Learn how MicroPython can control different levels of LED brightness.
Download Lesson 5 PDF
06. Potentiometer LED Brightness Control
Use a potentiometer as an analogue input to dynamically control LED brightness.
Download Lesson 6 PDF
07. Moving NeoPixel LED Sequence
Learn how to control an 8-LED NeoPixel strip and move an LED across the strip.
Download Lesson 7 PDF
08. NeoPixel Colour Sequence
Learn how to change multiple NeoPixel LEDs between different RGB colour sequences.
Download Lesson 8 PDF
09. Random-Colour NeoPixel Chase
Use the MicroPython random library to generate changing colours while NeoPixel LEDs move along the strip.
Download Lesson 9 PDF
10. LCD 1602 with I2C
Learn how to connect an LCD 1602 using I2C, scan its address and display text on two rows.
Download Lesson 10 PDF
11. Display Long Text on LCD 1602
Learn how to split a long sentence into smaller sections and display it correctly on a 16 × 2 LCD.
Download Lesson 11 PDF
12. Button-Controlled LCD Display
Learn how to detect a button press and display two lines of text on an LCD 1602 screen.
Download Lesson 12 PDF
12. Button-Controlled LCD Display
Learn how to detect a button press and display two lines of text on an LCD 1602 screen.
Download Lesson 12 PDF
Progressive Learning Through Practical Projects
These 12 mini projects are structured progressively. Students begin with basic GPIO control and gradually advance into analog input, PWM, NeoPixel programming, randomisation, LCD displays and interactive hardware projects.
GPIO & LED → Button → PWM → Analog Input → NeoPixel → Randomisation → LCD → Interactive LCD
Advanced MicroPython & IoT Development
Students who have completed the fundamental MicroPython programme can continue to our Advanced MicroPython course.
This programme introduces students to more advanced concepts involving sensors, Wi-Fi connectivity, data storage, databases and Internet of Things applications.
What You Will Learn
- Detecting and measuring temperature and humidity using the DHT22 sensor.
- Configuring Wi-Fi connectivity on Raspberry Pi Pico W and Pico 2W.
- Connecting MicroPython projects to online systems and IoT applications.
- Sending sensor information from the Raspberry Pi Pico to a MySQL database.
- Updating information stored in a MySQL database.
- Understanding how information can be stored locally on the Raspberry Pi Pico microcontroller.
- Reading stored information from the Pico.
- Writing and updating information within the Pico’s local storage.
- Combining sensors, LCD displays, Wi-Fi and database technologies into integrated IoT projects.
- Developing more advanced MicroPython projects and practical IoT applications.
- And many more advanced topics and projects.
Additional 16 Advanced Classes
The Advanced MicroPython programme consists of an additional 16 classes. Course fees depend on the selected programme and project requirements. Please contact our course coordinator for pricing, schedules and further information.
